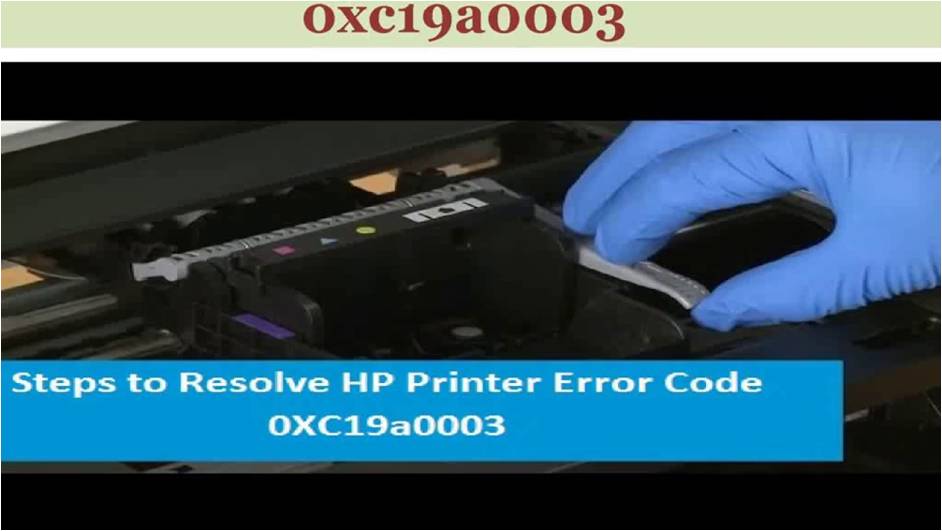
0XC19A0003 Error Code HP Printer
No matter how important saving and storing data in your PC is these days, you cannot ignore the importance of the hard copies that you need for reference.
HP printers are widely used by organizations when it comes to taking the printouts of documents from time to time. But then even the printers show some error when you start printing sometimes. One such error is the HP Printer Error Code 0XC19A0003 that restricts your device from printing documents.
Causes 0XC19A0003 Error Message HP Printer
The error indicates some problems with the ink system. The error code is normally be accompanied by the error message Ink System Failure. The causes of which can be any of the following:
- Problem with the printhead
- Use of non-genuine or depleted cartridges
- Air vents of the cartridges are blocked
Troubleshooting Steps HP Printer Error 0XC19A0003
Fixing HP Printer Error Code 0XC19A0003
When it comes to resolving the error, there are three options that can be chosen from. All of them have been explained below.
Option 1: Reset Printer
To reset the printer, you can follow the steps listed below:
- Disconnect the USB cable from the backside of the device while the printer is turned on
- Remove the cartridges
- Wait for the Insert Ink Cartridges pop up message
- Disconnect the power cord from the backside of the printer
- Wait for few minutes
- Reconnect the power cord. You have to do this manually by pressing Power button
- Reinsert the print cartridges
- Reconnect the USB cable
- Try and test the printer by printing a document
This option consists of two stages – cleaning the printheads from the toolbox and cleaning the printheads from the HP Inkjet Utility.
Option 2: Cleaning the Printheads
Stage 1: Cleaning Printheads from the Toolbox
- Open the Toolbox
- Click the Printer Services tab
- Click Clean Printheads option
- Follow the step-by-step instructions that appear on the screen to complete the process

Stage 2: Cleaning Printheads from the HP Inkjet Utility
- Open HP Inkjet Utility
- Click Clean option
- Follow the step-by-step instructions that appear on your screen to complete the process
Option 3: Cleaning the Cartridge Vents
1. Before you start with the process, gather the following materials:
- A pin to clean the clogged vents
- A clean, dry cotton swab
- Distilled water, no tap water
- A clean, lint-free cloth
2. Turn on the printer
3. Open the access door for the ink cartridge
4. To remove cartridge, press the tab present on the front of the ink cartridge. This will release it and remove it
5. Place the cartridges on the clean piece of paper. Ensure ink opening is pointing up
6. If you find an orange tab attached to an ink cartridge, remove that
7. Examine the vent area next to the HP logo located on the top of the ink cartridge
8. Use a pin to clean the vents that need attention
9. Wipe them with the lint-free cloth you have
10. Reinsert the ink cartridges safely
11. Make sure each colored dot on the ink cartridge label matches the same colored dots on the carriage.
HP Technical Support – Scope of Services
Our HP technical support team for resolutions believes in:
- Customer satisfaction
- Being available to customers all the time
- Being accessible to customers when they need us
- Retaining the trust and faith you have shown in us
- Being present by your side all even after the sale of our software products
To make sure, you achieve our goal, we offer multiple telephone lines, live chat interface and instant email response feature to you. You can call Printer Technical Support helpdesk 24*7 on  for more details on our products and services.


