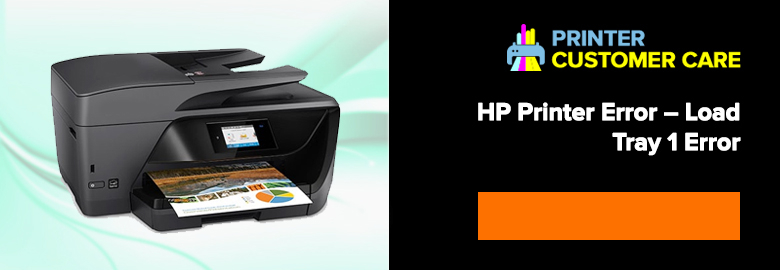
Load Tray 1 Error Message HP Printer
HP Printers are one of the best and cost-effective printers available in the market. Printing has become very easy and reasonable with HP printers. Printers like any other machinery can falter at any point of time leaving you in a fix. That’s exactly where our role comes in. We are a group of Professional HP Printer technicians who strive to resolve your HP Printer errors very promptly and are the best possible manner. In this article, we will try to resolve HP Printer Load Tray 1 Error.
Causes Load Tray 1 Error HP Printer Machine

Before resolving the error, let us first try to understand what it means by the error HP Printer Load Tray 1 Error. This error occurs due to a mismatch in the Printer settings and the actual loading of paper. There are two trays in a printer.
The Tray 1 is the small tray in the front for the manual feeding of paper. While the Tray 2 is the paper cassette that slides out and holds the paper. Load Tray 1 Error is displayed when the printer settings say take the paper from tray 1 while you must have put paper in the cassette below that is the tray 2. For resolving this error any of the traditional steps such as simple RESET of the printer, stopping the printer spool and restarting it etc. will not help. Then How to solve the error Load Tray 1 Error?
Troubleshooting HP Printer Error Load Tray 1
How to Fix the HP Printer Load Tray 1 Error?
Follow the following steps to resolve the HP Printer Error – Load Tray 1 Error:
Step 1: Checking for the access control for Tray Settings
- Click on the security tab.
- Select the access control from the panel on the left.
- Under the sign in and permissions policy expand the tray options.
- In that select the ability to modify tray size and type settings.
- Scroll down and select apply.
Step 2: Set the Use Requested Tray Setting
- Click on the Copy/Print Tab
- Select the manage trays from the left panel.
- Under the use requested tray, select exclusively or tray 2.
- Click Apply.
Step 3: Restricting the access to Tray settings.
- Click on the security tab.
- Select the access control from the panel on the left.
- Under the sign in and permissions policy, expand the tray options.
- In the Device Guest column click on the checkbox Ability to modify tray type and size settings and lock it for guest users. It will turn yellow and will have a lock icon next to it.
- Scroll down and select apply.
Performing this step will resolve the error. If however the error still appears or you find any difficulty in performing any of the aforesaid steps then feel free to contact us at HP Toll-Free Number  . We are a pool of Technical professionals always ready to help you solve your errors.
Our Scope of Services:
- 24X7 availability Printer Technical Support
- 365 days working
- Prompt service
- Guaranteed solution
- 100% effective and efficient response


