Are You Frustrated of Alignment Failed Error In HP Officejet 8500 Printer. HP Officejet 8500 is the advance wireless printer which gives you various smart features that helps you in managing and performing printing scanning and copying very easily. However the Officejet 8500 is an electronic device which may face the various errors or issues while operating. In which one of error is “Alignment failed” error. Alignment failed error is basically occurs after installation of a new Printhead. In this error whenever you try to print then the error message “alignment failed” get displayed on the printer “control panel”
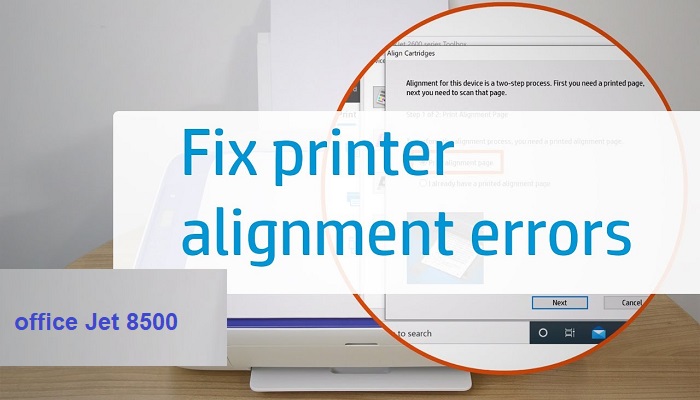
Causes of alignment failed error in office Jet 8500 Printer
- Your cartridge is likely to out of the alignment.
- There might be possibility of clogged or a dirty Cartridge
- There may be chance that the printer get misaligned and after a large print job
Steps to resolve office 8500 alignment fail error while printing
Fix 1: Reset the printer.
- First check whether the printer is turned “on” or not if not. If not, turn it ON.
- Now disconnect the power cord from the printer and then, from the main electrical outlet.
- Now wait for a while and then re-connect the power cord to the printer and then to the main electrical outlet.
- Now turn “on” the printer and try to print again.
- If the printer alignment is still persist then proceed to next method.
RELATED POST: Cancel Print Job on HP Printer
Fix 2: Check the alignment of page.
- In Case, if no paper get loaded prior, if no alignment page printed then properly load white plain papers into the input tray.
- Go to the printers “control panel” and check the “setup” option.
- Click on “tools” option.
- After that from the listed options, click the “Align printer” tab and then hit the “ok” to proceed.
- Once the printer alignment successfully completed then presses“ok” to done.
- Now properly examine the alignment page. Ensure that the printer on the alignment page must be sharply printed. Then try to print again.
- In case you find the page faded or stretched that proceed to the next step.
Fix 3: Clean the Printhead
- First load plain white paper to the printer’s input tray.
- Now go to printer’s “Control Panel”
- Then from the listed options, hit the “setup” option.
- Now click on the tools option then, choose “Clean printhead” option.
Fix 4: Examine the Print Quality diagnostics page.
- First load the compatible paper into the input tray then go to the printer’s control panel and setup option
- Now hit on the tools and choose print quality page option
- Click Ok to proceed with print quality diagnostics page prints.
- Now ensure, thereare no white lines .In caseyou findwhite lines click on the clean Printhead option form the tools.
- Repeat the above steps till you get white lines on test pattern
- In case white line are in all the colour blocks or you find white gaps or dark line on the tests pattern then need to calibrate linefeed.
Fix 4: Calibrate line feed
- First you need to load compatible paper into the input tray
- then go to the “control panel” of printer and click on the “setup” option
- Now, hit the “tools” option and choosecalibrate linefeed.
- Then press OK.
- Examine the print quality Diagnostics page
- From, the option click on the print report.
- Choose the print quality page and click “ok”.
- Check the test pattern if the grey blocks or doesn’t have any defects can continue to the next step.
- Check if there are still dark lines of White Caps and grey block. Then proceed to the next steps
- Retry the alignment
- First load the compatible paper into input tray and again go to the control panel and choose setup
- Now, from the tools choose a align printer option and press ok to proceed.
- Once done try to print again and then check the alignment page print properly without an error.
- In case you find white lines and the colour blocks and test pattern 2 but not effect in test pattern 3 then you need to proceed with next solution
Note if the alignment page fails to print then skip the further steps visit to the printers service centre
- Replace the print head
- If black block has lines then replaced the black yellow printed
- If the red block has lines then, replaced the black and yellow printed.
- If green blocks lines then replace black / yellow.
- If cyan block has lines to place Magenta and cyan colours
Customer support
If you are satisfied with the above mentioned solutions then you can take the help of Repair Printer experts.
Other Issues And Errors
 HP LaserJet Pro MFP M28-M31 Printer is Not Connecting to a 5g Network
 Installing network printer on Mac without software and driver CD
 HP 5540 Has Color Printing Errors Only Printing Black and White
 HP Envy 5250 Printer, can only Print from a phone not with a Computer
 Fix Alignment Failed Error In HP Officejet 8500 Printer
 HP Officejet Pro 8600 not scanning Issue
 Epson Printer in an Error state
 How Do You Align The Print Head?
 Brother printer troubleshooting guide
 Epson printer WF-2750 will not photocopy “The Paper Source Setting Is Invalid”
