After setting up a brand-new printhead, the printer instantly aligns the printheads to guarantee the ideal print quality. If the hard copy is rough, has stray dots, rugged sides, or the ink is oozing right into a different shade, re-align the printheads manually.

Methods of Aligning Print Head
Make use of the listed below techniques to align the printheads in the printer:
Technique one: Align the printheads utilizing the printer control panel
Adhere to the actions listed below to align the printheads making use of the control panel.
- Push and also hold the Power switch.
- Push the Resume switch three times and after that launch the Power switch.
Technique 2: Align the printheads making use of the print driver.
Comply with the actions listed below to align the printheads making use of the print driver:
- Go to the Start button and also choose Settings.
- Select Printers or Printers and Faxes.
- Right-click on the printer symbol and also choose Properties.
- Go to General tab and click on the Printing Preferences.
- Go to the Features tab.
- Select the Printer services.
- Go to Services tab.
- Click on Align the Printheads.
Technique 3: Align the printheads making use of the EWS(Embedded Web Server).
Abide by the actions listed below to align the printheads utilizing the EWS:
- Open up a web browser (Internet Explorer or Netscape) to enter the IP address of the printer to access the EWS.
- Go to the Settings tab.
- Select Device Services in the left pane.
- Choose Align printheads from the drop-down listing in the Print Quality area.
- Select Run Diagnostic.
Technique 4: Align the printheads making use of the printer Toolkit.
Adhere to the actions listed below to line up the printheads from the printer Toolbox:
1.Right-click the HP Digital Imaging Screen in the symbol taskbar at the end of the display near the clock.
- Choose the printer
- Select Display Printer Tool Kit. The Printer Toolbox will appear.
- Go to the Services tab.
- Select Print PQ (print quality) analysis page.
We have a pool of skilled experts that are ready to help you 24×7 and resolve your issues.
Scope of Services
- Competent Technicians
- Prompt Responsive service
- Feasible Solutions for every technical issue
Other Issues And Errors
 HP Envy 7640 Printer won’t Print : Printer Validation Failed is there
 How To Connect Epson XP-620 Printer To Laptop Wireless
 Steps to Fix Brother Printer driver unavailable Error
 Epson Artisan 1430 printer will not connect to WI-FI
 HP LaserJet Pro MFP M28-M31 Printer is Not Connecting to a 5g Network
 HP 1250 Fax Series Printer Says Retry While Printing
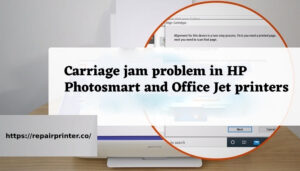 Fixing Carriage jam problem in HP Photosmart and Office Jet printers
 How Do I Get My Printer Back Online?
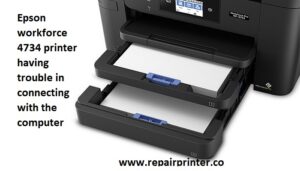 Epson workforce 4734 Printer Having Trouble in Connecting With The Computer
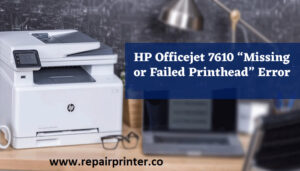 HP Officejet 7610 “Missing or Failed Printhead” Error
