To begin the Canon Pixma MX492 wireless setup process, you must first complete the initial printer configuration. To do so, you must first turn on the wireless router. Then, on the Canon Printer, press and hold the WiFi button until the wireless light starts flashing. Finally, make sure your computer is linked to the same WiFi network as the printer. Once the Canon Pixma wireless setup is complete, do a test print. Check here for other models of Canon PIXMA printer setup queries.
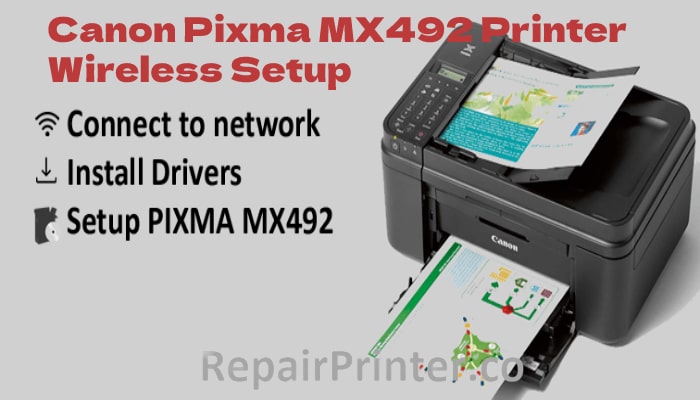
Canon MX492 Wireless Setup | Connect Canon Pixma MX492 Printer To WiFi
How do I connect my Canon MX492 printer to my wireless network?
Before connecting your Canon MX492 Printer to WiFi, you must first complete a printer configuration. To continue with the Canon MX492 wireless setup, follow the steps listed below:
- Turn your printer on.
- On the printer, press the Setup button.
- Choose OK after pressing the “WLAN Setup” option.
- Choose “Cableless Setup” from the drop-down menu.
- On your mobile, download and run the Canon Print app.
- Select “Add Printer” from the drop-down menu.
- Select Register Printer > Printer Setup > Connect through Wireless Router from the drop-down menu.
- To complete the process of connecting the Canon MX492 Printer to WiFi, follow the on-screen directions.
- To connect your printer, enter the wireless network key and click OK.
Learn more about : Canon Printer MX922 Wireless Setup | Manual Guide Instructions
Canon MX492 Mac Setup | Canon MX492 Windows Setup
How do you set up the Canon MX492 on a Mac?
The Canon MX492 wireless setup for Mac connects the device to the wireless network. Here’s how to set up the Canon MX492 on your Mac:
- Make sure you’ve completed the initial Canon MX492 setup and that the ink cartridges are all full.
- To begin the Canon Pixma MX492 wireless setup, turn on your wifi router.
- Turn on your printer’s WiFi network.
- Choose the WLAN configuration option.
- Press the WiFi button on your router when prompted.
- Now in the WLAN setup section click on “Manual Setup”
- To get the MX492 printer driver, go to Canon’s official website.
- During the Canon Pixma MX492 setup for Mac, choose the configuration and network type.
- Follow the directions as instructed on the screen and complete the installation.
- After you’ve completed the Canon Pixma MX492 wireless setup, print a test page on your printer.
How can I get the Canon MX492 to work on Windows?
To set up your Canon Pixma 492 for a Windows system, follow the steps below:
- Turn on your Canon Pixma MX492 printer first to begin your Canon Pixma MX492 wireless setup.
- Make sure your wifi router is turned on as well.
- Connect your printer & computer to the same wireless network.
- You’ll need the Setup CD that comes with your printer, or you may get the most recent drivers and software by downloading them from the official website.
- Run the downloaded software or the CD that came with your printer.
- Read the connection instructions and select Next.
- The Software Installation List pops up on the screen. (To utilise the printer, MP Drivers must be selected.) The rest of the options are optional). Then select Next
- When using the Setup CD that comes with the printer or the Mini Master Setup from the Canon website, the Software Installation List shows. This screen will not appear if you download the MP Drivers from the website.
- For the licence agreement, select Yes.
- Allow the installation procedure to run by selecting Next.
- Next, choose your printer from the Detected Printers List.
- On the Setup Completion screen, click Complete.
- Continue to follow the instructions on the screen. The printer configuration is complete when the Setup Complete screen appears.
- Select Next and go to the few next steps as directed in the process.
Canon MX492 Printer USB Setup
For MX492 USB setup follow below given steps:
- Firstly both the printer and the computer should be turned on.
- In the CD-ROM drive, insert the MX492 Printer installation driver CD.
- Then from the menu select ” install Canon Pixma MX492” .
- After that, select “Install” and then “USB Connection.”
- Connect the USB cord to the printer and the computer by clicking “Next.”
- Click “Complete” when the Printer Setup is finished.
- Print a test page using a few sheets of paper loaded into the printer.
- Then “Exit”
It’s possible that you’ll run into problems while executing the actions listed above. In this situation, you can consult the Canon MX492 user handbook. The Canon MX492 user manual answers questions like how to connect Canon MX492 to WiFi, how to set up a Canon MX492 wireless printer, and how to connect my Canon MX492 to my computer.
Common Issues:
Canon MX492 won’t print!
If the Canon MX492 printer refuses to print, double-check that the printer driver is properly installed. Reconnect the printer to the wireless network and make sure it’s working properly. Check to see whether the toner cartridge has any issues. If this is the case, replace or reinstall them.
FAQ’S
Q: Canon MX492 is compatible with chromebook
Q: Canon MX492 is compatible with windows 10
Q: Canon MX492 is airprint compatible
Q: Canon MX492 is compatible with iphone
Q: Is compatible with macbook or macbook Air
Q: Can print pictures?
Q: Can print wirelessly?
Q: Does it have bluetooth?
Q: Can I scan?
Other Issues And Errors
 Canon Printer MX922 Setup
 Canon Pixma TS3122 Wireless Setup
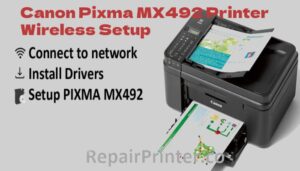 Canon Pixma MX492 Printer Wireless Setup
 Canon PIXMA MG3620 Wireless Setup
 Canon Pixma ix6820 Wireless Setup
 Fix Canon MX328 Printer Error 6000 Manual
 How to Do Deep Cleaning on a Canon printer?
 Fix Canon Printer Error 5200 on Pixma MP 490 & mx 340 & 350 Canon
 Canon TS3322 Printer Setup
 How do I Fix the Alignment on My Canon Printer?
