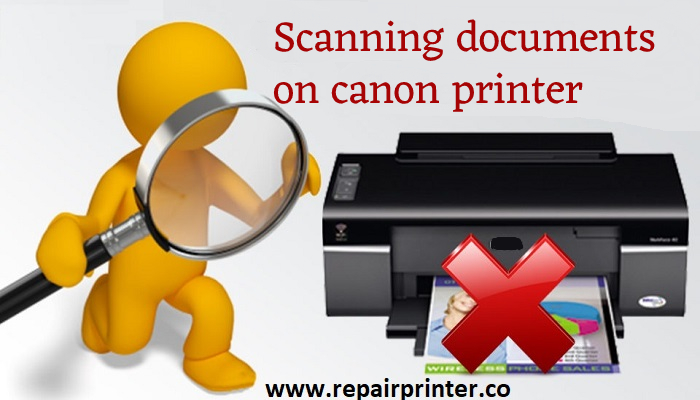
What is scanning in a canon printer?
Canon is the best printer with inflexible paper handling. Equipped with high page yield ink bottles and Canon printers help you to view remaining ink levels with just a glance thanks to its intelligent design, the process of scanning documents on a Canon printer to your computer or any other device has been made easier. Once you are sure that a canon printer can scan, the next thing you have to do is to prepare your device for scanning a document.
Causes of scanned documents on a canon printer
- Your device driver for the canon scanner may be outdated-or missing.
- Device drivers can become corrupted, which may cause your scanner to not work properly.
- Malware or Viruses may have compromised your system, causing many issues, including making devices fail.
Methods to scan a document on a canon printer
Method 1- Preparing to scan
- Make sure that the canon printer can scan. Some other printer models can scan well but you need to check the printer’s documentation.
- Most Canon printers that can scan will also be able to connect wirelessly via touch-screen panel, but you need to connect the printer to computer via USB cable.
- If necessary, turn on the printer and press the button if the printer won’t turn on make sure that it’s connected to a working power source.
- Open the scanner, lift up the lid, there will be a glass bottom of the scanner. If your printer has all in one paper feeder, insert documents into the tray instead.
- Place the document face –down in the scanner. There will be markings next to the glass bottom: This indicates how the document should be oriented in the scanner.
- Close the scanner lid. Make sure that it is firmly shut before you scan your document.
Read More-: Fix Canon Printer Error 5200 On Pixma Mp 490 & Mx 340 & 350 Canon
Method 2- Scanning on windows
- Firstly, press the start button and on the left side of the screen there will be a window logo.
- Type windows fax and scan into start. Doing this will search for the windows fax and scan app.
- At the top of the screen click the fax and scan option. After clicking on this option the fax and scan app will be there.
- Click the new scan. This is in the upper- left side of the fax and scan woindow.by clicking it opens a new window.
- Make sure the scanner is correct. There must be a canon and printer model number. If something else is there click change and select the canon printer.
- Select a type of document and then click the drop box. In the drop-down box.
- Go to the color box option and from there you can choose your colors.
- Select a file type. Click the file type drop down box then click the file type that you want to use to store the scanned document on your computer.
- Depending on the scanner, you may have options that you can modify prior to scanning your document.
- Click preview. It’s at the bottom of the window. Doing this will bring up a preview of the document in the scanner.
- Click scan. It’s at the bottom of the window. Your document will begin scanning into the computer. To find the scanned file later do following:
- Open start
- Open File explorer
- On the left side of your printer screen click the documents option.
- Double-click the scanned documents folder.
Method 3- Scanning on Mac
- Open the apple menu then you need to click the apple logo in the top left corner of the screen. A drop-down menu will appear.
- Click system preferences.
- Click printers and scanners. This printer shaped icon is on the right side of the system preferences window.
- Select the canon printer, click the canon option in the upper left side of the window and then click the scan tab. It’s at the top of the window.
- Click the open scanner.
- Click the show details option. This option is available at the lower side of the printer screen.
- Select a file type. Click the format drop down box then click a file type that you want to use to save your file.
- At the top of the printer screen there will be a drop down box. Then select a color option.
- Select a storage location. Click on the save button option and then go to the folder where you want to save all your documents.
- Change other options on the page. Depending on the type of file that you are scanning, you want to change the ‘’Resolution’’ value or the ‘’Orientation’’ value here.
- Click scan. Your document will begin scanning into the computer. When it is finished then you will find it in your selected save location.
Also Read-: Scanner Error 100016 In Epson Printer 4750
Technical support for scanning documents on canon printer
If you are running with the problem then contact at canon customer service and you can write an email to [email protected]. Canon team is available 24/7 and 365 days.
Other Issues And Errors
 How do You Turn on Airprint?
 Do Print Cartridges Dry Out In The Printer?
 HP Officejet Pro 8600 not scanning Issue
 Why AirPrint is Not Working?
 Steps to Fix Brother Printer driver unavailable Error
 Fix Epson Printer Printing skipped and missing lines
 HP 1250 Fax Series Printer Says Retry While Printing
 Installing network printer on Mac without software and driver CD
 Scanning Documents on Canon Printer
 Samsung Printer Shows an Error A I-III0
